Posted on The Distress Signal | keyboards
At this point, talking about keyboards on my own blog seems riduculously cliché. Still, like the hipster who was a fan of that band before they made it big and sold out—I do feel compelled to pull out my recipts and say a few things on the subject.
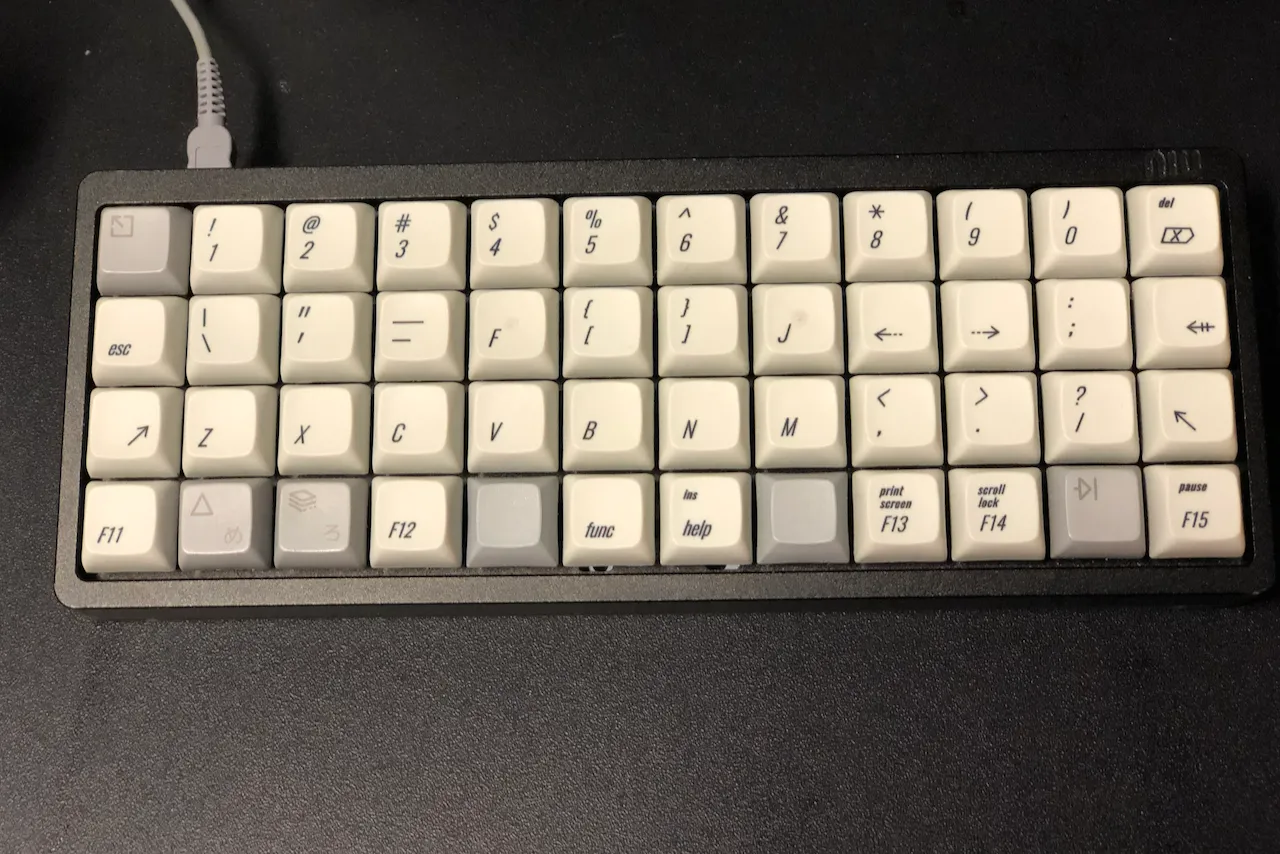
As a child of the 80s, I grew up with some cool keyboards. The caps were tall and shiny and the layouts were odd. When I landed my first real job out of grad school—I had a modern take on the AEK II and it was all I needed (2003). By the time Jeff Atwood announced he was working with WASD to build the ultimate TKL (2013), it was an instabuy for me—and I started to think about things like plate material and dye-sublimation.
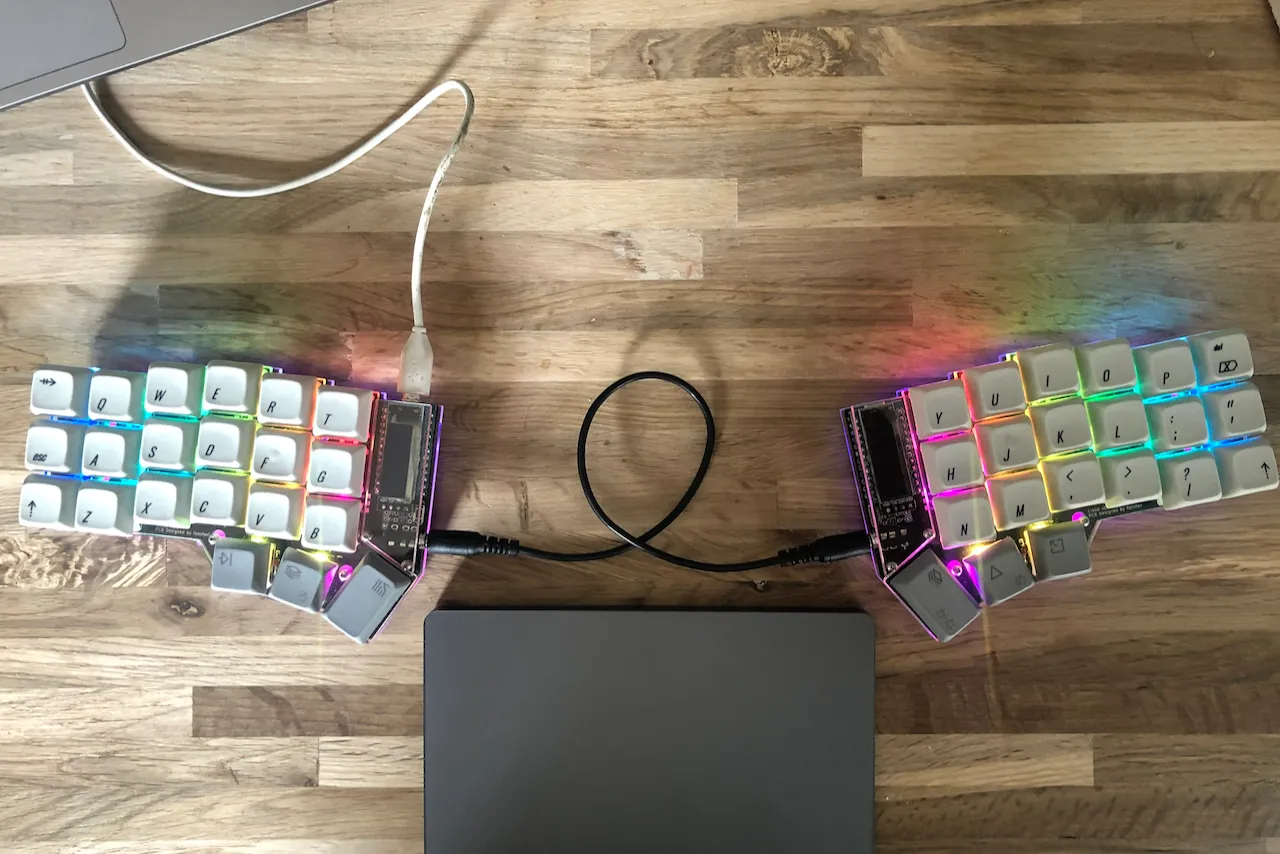
A couple years later I was on Geekhack, then on the MK subreddit—I got into 40s, orthos, split columnar staggered orthos, Topre, split row stagger, and back to standard layouts. Along the way I learned how to build my own keyboard firmware with QMK—in retrospect, THIS IS THE THING.
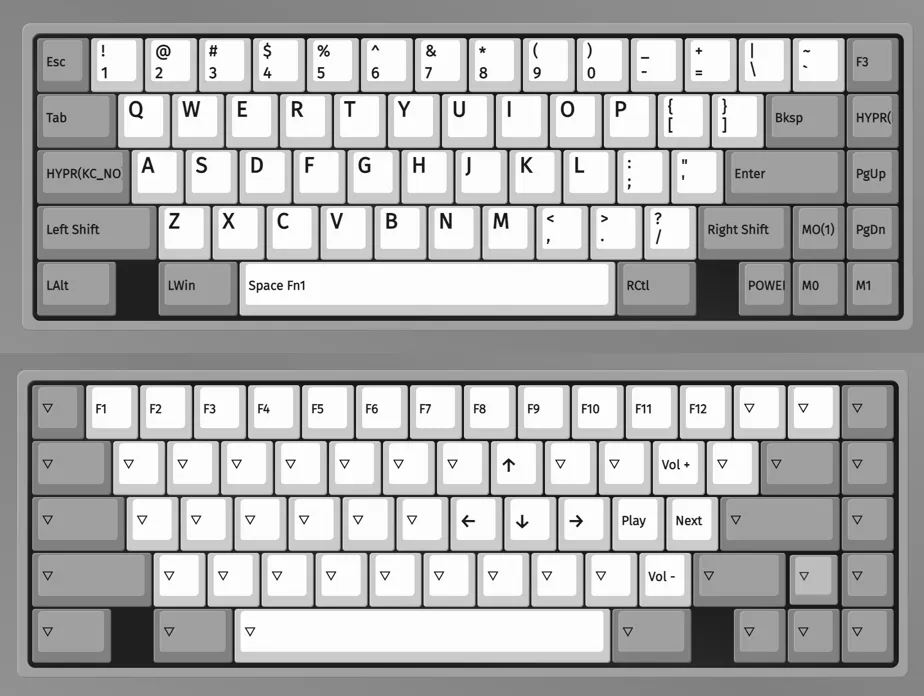
I mean, I do like nice keyboards—but adding arrows to the home row (AKA: SpaceFN) and adjusting the layout to be exactly what I want is what the whole thing is really about. SpaceFN works like this: you hold down the spacebar and it activates a new ‘layer’ of input—what used to be the ‘i’, ‘j’, ‘k’, and ‘l’ keys are now the ‘up’, ‘left’, ‘down’, and ‘right’ keys. So you can navigate around without ever having to leave the home row, it’s a huge quality of life upgrade for anyone doing text input—especially coding. I mean, home-row arrows and I don’t have to learn Vim? SOLD. Then I swap out CapsLock for a ‘Hyper’ key—Alt+Ctrl+Shift+Command, which I use for all my shortcuts—avoiding colisions with existing system or application shortcuts. Split backspace, split right shift, win-key blockers, macro keys, application triggers, tap dancing, and on and on. Once you start writing your own keyboard firmware—there’s really no going back.
It’s all about taking control of your keyboard—and making it exactly the way you want it. The truth is, you don’t even need a custom board to do this. If you’re on MacOS you can use Karabiner to setup a SpaceFN layout, and remap Pipe to a split backspace. This is how I have my laptop keyboard setup, so it’s still usable to me when I need to jump on for something quick. Here is a Gist of my Karabiner config that sets up SpaceFN if you’re interested in giving this a shot with your current normie keyboard.